
Screen recording on your Android device is a powerful tool with a multitude of uses, from creating tutorials and presentations to capturing gameplay or troubleshooting technical issues. This comprehensive guide, “Screen Recording on Android: The Ultimate Guide,” offers a deep dive into the various methods available for screen recording on Android devices. Whether you’re using a built-in screen recorder, exploring third-party screen recording apps, or seeking advanced screen recording tips, this guide has you covered. Learn to harness the full potential of screen recording and elevate your Android experience.
Navigating the myriad of screen recording options can be overwhelming. This guide simplifies the process, providing clear, step-by-step instructions for various screen recording methods. We’ll explore the intricacies of native screen recording functionalities found in different Android versions, as well as delve into the benefits and drawbacks of utilizing dedicated screen recording apps. Furthermore, this “Ultimate Guide” provides invaluable screen recording tips and tricks to optimize your recordings, ensuring high-quality captures for any purpose. Start screen recording like a pro with the expert advice provided within.
Built-in Screen Recording Features on Android
Many modern Android devices come equipped with native screen recording functionality, eliminating the need for third-party apps. Locating this feature can vary slightly depending on the device manufacturer and Android version.
Typically, the screen recorder is accessible through the Quick Settings panel. Swipe down from the top of the screen to reveal the notification shade, then swipe down again to expand the Quick Settings. Look for a screen recording icon (often depicted as a small camera with a dot inside). If you don’t see it immediately, you might need to edit your Quick Settings layout to add the tile.
Once activated, the screen recording feature usually offers a few basic options, such as setting the resolution and selecting an audio source (e.g., microphone, internal audio, or no audio).
Some manufacturers also integrate additional features within their built-in screen recorders, like adding annotations or drawing on the screen while recording. Check your device’s user manual for specific details on its native screen recording capabilities.
Exploring Third-Party Screen Recording Apps
While many Android devices offer native screen recording functionality, third-party apps often provide advanced features and greater flexibility. These apps can cater to specific needs, offering a wider range of customization options.
When choosing a third-party screen recorder, consider factors like: resolution settings, frame rate control, and audio recording capabilities. Some apps excel in providing high-quality recordings, while others prioritize ease of use and simple interfaces.
Features to look for include:
- Internal audio recording: Essential for capturing game audio or tutorials with voiceovers.
- Video editing tools: Built-in trimming, merging, or adding annotations can streamline your workflow.
- Customizable overlays: Add facecam reactions, watermarks, or on-screen annotations to enhance your recordings.
- No recording time limits: Some free apps may impose restrictions, whereas paid versions often offer unlimited recording durations.
Exploring various apps and reading user reviews can help identify the best option to suit your specific recording needs. Experimentation is often key to finding the perfect fit.
Customizing Your Screen Recording Settings: Resolution, Audio, and More
Most Android devices allow you to customize your screen recording settings to achieve the desired outcome. These settings significantly impact the final video quality and size.
Resolution: A higher resolution (e.g., 1080p) results in a sharper video but also a larger file size. Consider your needs and storage space. Lower resolutions (e.g., 720p or 480p) are suitable for sharing on social media or when storage is limited.
Bit Rate: This setting controls the amount of data used per second of video. A higher bit rate generally means better video quality but also larger file sizes. Experiment to find a balance between quality and file size.
Frame Rate (fps): This setting determines how many frames are recorded per second. A higher frame rate (e.g., 60fps) results in smoother video, ideal for recording games or fast-paced action. A lower frame rate (e.g., 30fps) is sufficient for most other recordings and produces smaller files.
Audio Source: Choose between recording internal audio (system sounds and app audio) or external audio (from your device’s microphone). Some devices may offer options to record both simultaneously.
Orientation: Select between landscape or portrait mode depending on the content you’re recording.
Recording Internal Audio on Android Devices
Capturing internal audio alongside your screen recording significantly enhances the quality, especially for tutorials, gameplay videos, or music demos. However, directly recording internal audio can be more complex than capturing external sounds through the microphone. This is due to system limitations and copyright concerns implemented by manufacturers and app developers.
Some newer Android devices offer a built-in option to record internal audio. Check your device’s screen recording settings for an “Audio Source” or similar option. If available, select “Internal Audio” or “System Sounds.” Be aware that this feature may not be universally supported across all apps or games due to app-specific restrictions.
If your device doesn’t offer native internal audio recording, third-party apps might be an alternative. Some screen recording apps specialize in capturing internal audio using various methods. Research these apps carefully and verify compatibility with your specific Android version and device model.
Remember, recording copyrighted audio without permission is illegal. Always respect copyright laws when using internal audio recording functionality.
Troubleshooting Common Screen Recording Issues
Encountering problems while screen recording on your Android device? Here are some common issues and their solutions:
No Audio in Recording
Check your audio settings. Ensure the internal or microphone audio is enabled in your screen recorder settings. Some apps or games may block internal audio recording due to copyright restrictions.
Recording Stops Unexpectedly
Storage space. Low storage space can interrupt recordings. Free up space on your device. Background apps. Too many running apps can interfere. Close unnecessary apps before recording.
Lagging or Choppy Recording
Lower the resolution and frame rate in your recording settings. This reduces the processing load. Close unnecessary apps. This frees up system resources.
Screen Recorder Not Responding
Restart your device. A simple restart can often resolve temporary software glitches. Update the app. Check for updates to your screen recording app in the Google Play Store.
“Screen Overlay Detected” Error
Certain apps, like those with floating chat heads, can interfere with screen recording. Temporarily disable screen overlays for these apps in your device settings.
Tips for Creating High-Quality Screen Recordings
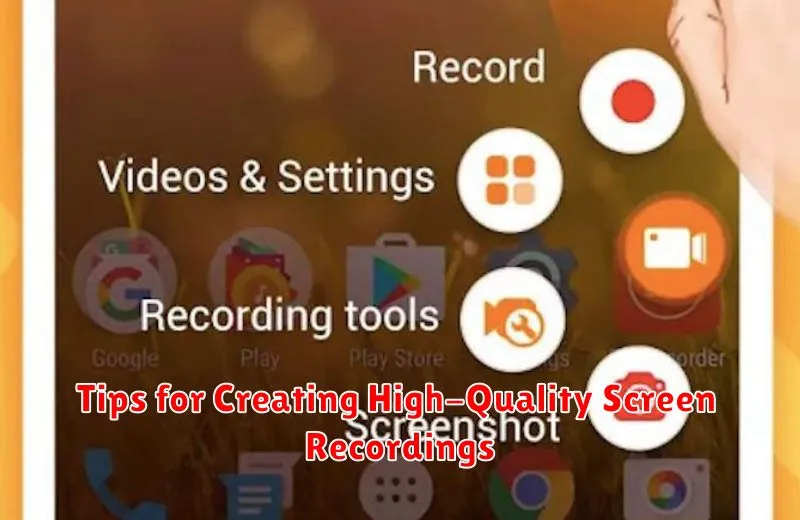
Creating professional-looking screen recordings requires attention to a few key details. Planning your content ahead of time ensures a smooth and concise recording. A well-defined purpose and a brief outline can prevent rambling and keep your viewers engaged. Practice runs can help you refine your delivery and identify any potential hiccups.
A clean and organized screen is essential for a high-quality recording. Close any unnecessary applications or tabs to minimize distractions and maintain focus on the relevant content. A tidy screen translates to a more professional and polished final product.
Audio quality is just as crucial as video. If you’re narrating, use a good quality microphone to ensure clarity. Minimize background noise as much as possible for a more professional-sounding recording.
Stable internet connection is paramount, especially for recordings involving online activities. A dropped connection can interrupt your flow and compromise the integrity of the final recording. Ensure a strong and reliable connection before you begin.
Editing Your Screen Recordings
Once you’ve captured your screen recording, you might want to polish it before sharing. Editing can range from simple trims to more advanced adjustments. Several video editing apps are available on Android, offering varying levels of functionality.
For basic edits like trimming the beginning or end of your video, the pre-installed gallery app or photos app on your device may suffice. These often include a simple video editor that allows for quick cuts.
Advanced editing, such as adding text overlays, transitions, or background music, often requires a dedicated video editing app. Explore options like InShot, PowerDirector, or KineMaster, depending on your needs and technical proficiency. These apps provide a broader range of tools to enhance your recordings.
Consider the purpose of your recording when editing. If it’s a quick tutorial, simple trimming might be all you need. For more polished presentations or content, explore the features of dedicated editing apps to add a professional touch.
Sharing Your Screen Recordings: Different Platforms and Methods
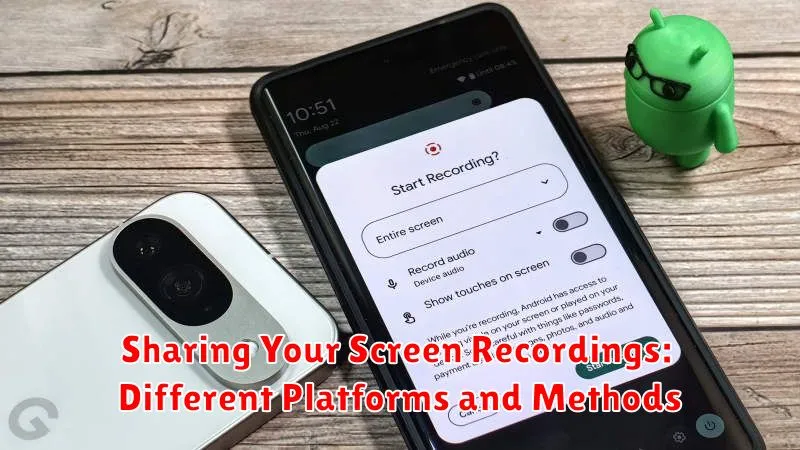
Once you’ve created the perfect screen recording, sharing it is simple. Android offers various built-in sharing options, readily available after you stop recording. Directly from your notification or the screen recorder app itself, you can quickly share your recordings to social media platforms like YouTube, Facebook, and Instagram.
Cloud storage services like Google Drive, Dropbox, and OneDrive also provide convenient sharing mechanisms. Uploading your recording to the cloud allows for easy link sharing and access control.
For more direct sharing methods, utilize messaging apps such as WhatsApp, Telegram, or email to send your screen recording files to specific individuals or groups. You can also employ nearby sharing features if the recipient is physically close to you.
Remember to consider the file size of your recording. Larger files may be unsuitable for certain sharing platforms or require compression before sending.